Written by
Aljan Scholtens
on
16 June 2025
Welcome to Wolf Maps! Whether you’ve just started using our tool or are simply curious how to bring your world to life digitally, you’re in the right place. With Wolf Maps, you make it easy and fun for visitors to discover an area. But where do you begin? And how do you make sure your map is not only functional but also a true experience? Don’t worry, in this article we’ll guide you step-by-step through the basics. Consider it your personal kick-start to quickly build a fantastic map.
First things first: what is Wolf Maps?
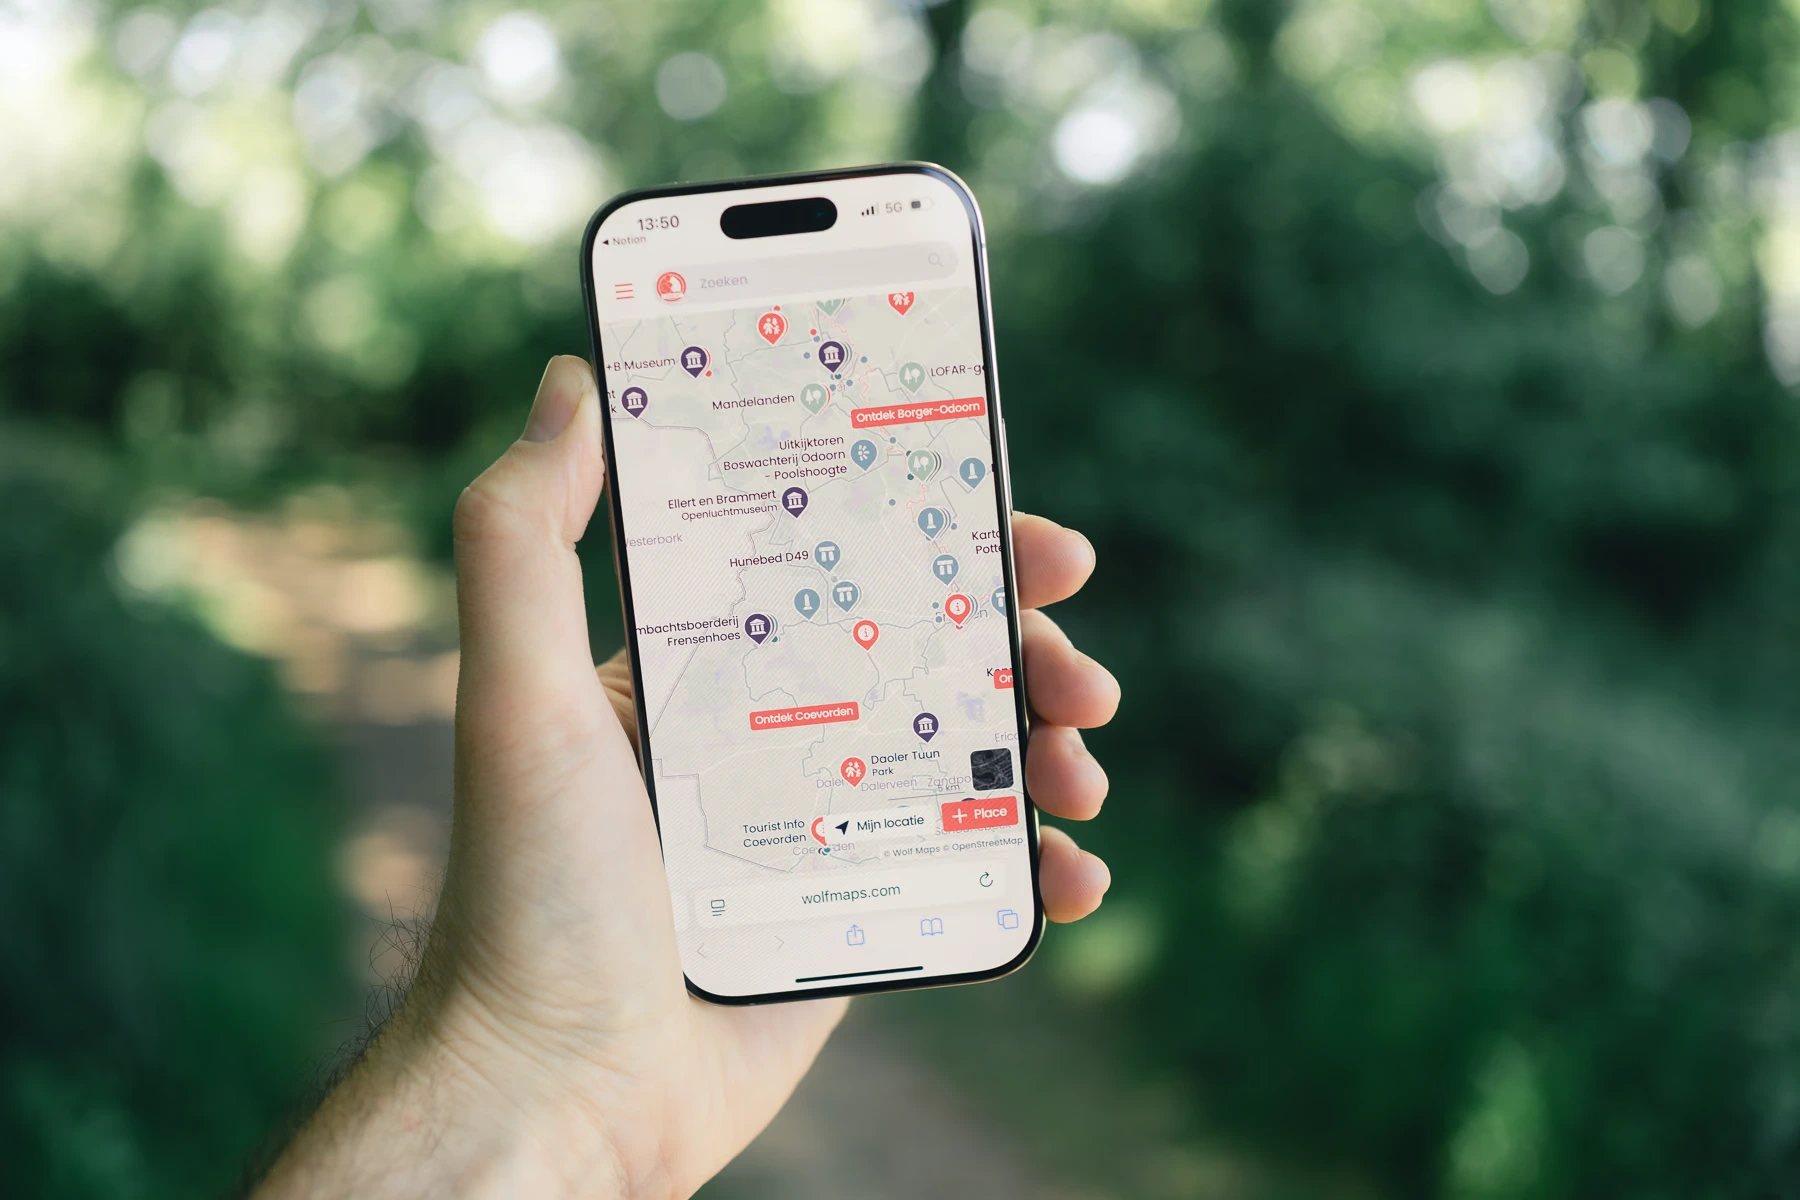
Before diving into the technical stuff, it’s good to understand what Wolf Maps actually is. Simply put, it’s a tool that lets you create beautiful interactive maps for a region, city, event, or specific route. But it’s more than just a digital map on your website. It’s a tool that lets your visitors explore, tells stories, and guides them to the most beautiful and relevant spots.
Okay, ready to get started? Let’s set up your first map!
Step 1: Your Account and the First Map
Once you log in to Wolf Maps, you land on your map overview page. Here you’ll see all the maps you manage. We’ve made it easy for you: your first map is already set up and waiting.
Think carefully about what type of map you want to create. Is it an informative city map, an audio tour (podwalk), a long-distance hiking trail, or an event map? And who is your target audience? Families with children, culture lovers, sporty hikers? Having this clear will make every next step much easier.
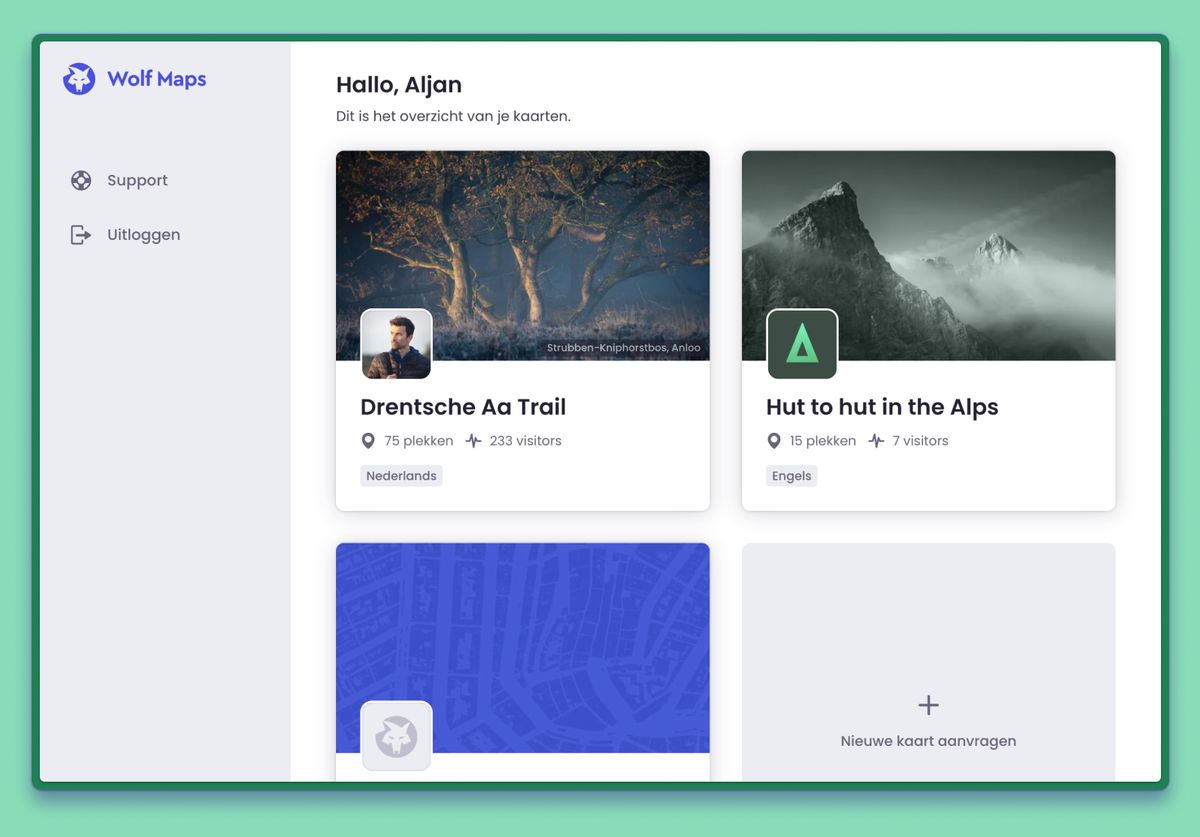 Map overview in the studio
Step 2: Give your map a face with a map profile
A good first impression is everything. The map profile is the ‘face’ of your map. This is what visitors see first.
Go to ‘Settings’ to edit the profile. Here you can:
- Add a logo: to increase recognition.
- Upload a header image: This is the main image/banner of your map. Be creative! Use an atmospheric photo that captures the essence of your area or theme.
- Write a catchy description: Tell in a few sentences what visitors can find on this map.
- Add a link to your website: For visitors who want to learn more.
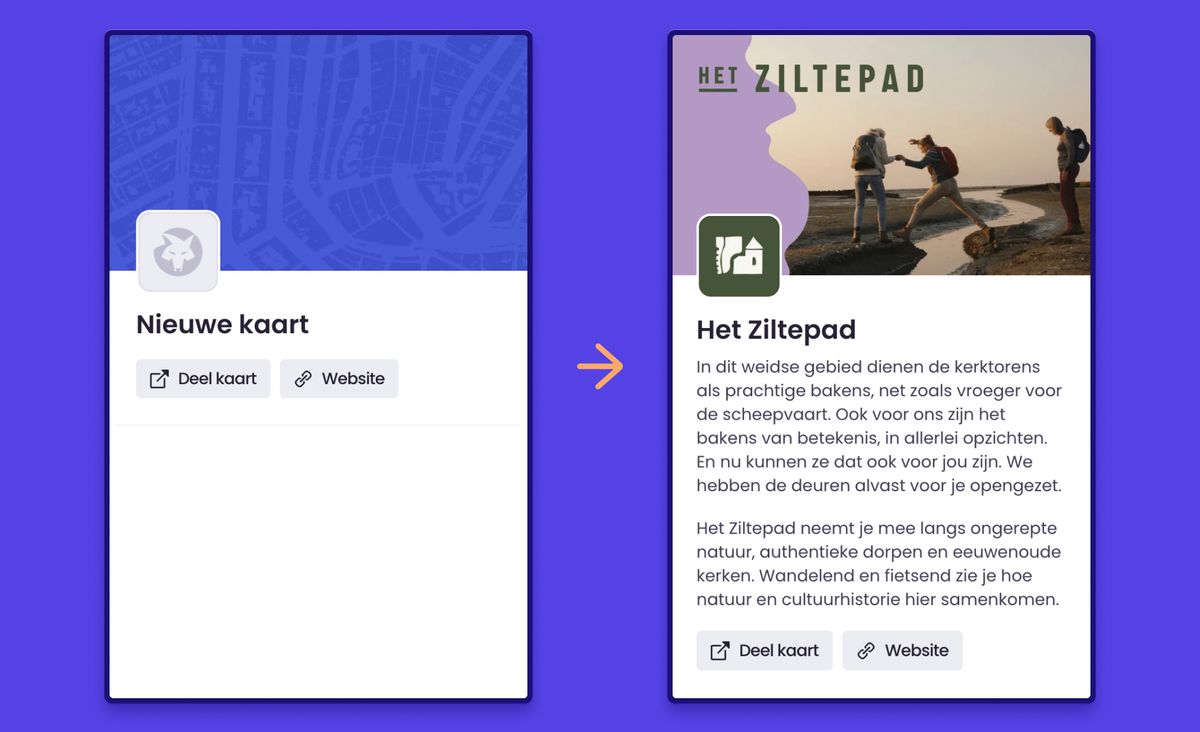 Map profile in Wolf Maps
Step 3: Lay the foundation with categories
Before adding locations, let’s first build the foundation: the categories. Categories are very useful as they directly form the legend and filters on your map. They also determine the color and icon of the pins. So take your time here.
Good examples of categories are: Food & Drink, Accommodation, See & Do, Hiking Trails, and Parking. Keep it clear for your visitor and limit yourself to a maximum of 8 main categories.
💡 Need extra filter options? Use tags. These let you specify further within a category. Think of tags like ‘family-friendly’, ‘free entry’, or ‘vegetarian’. This way visitors can search very specifically.
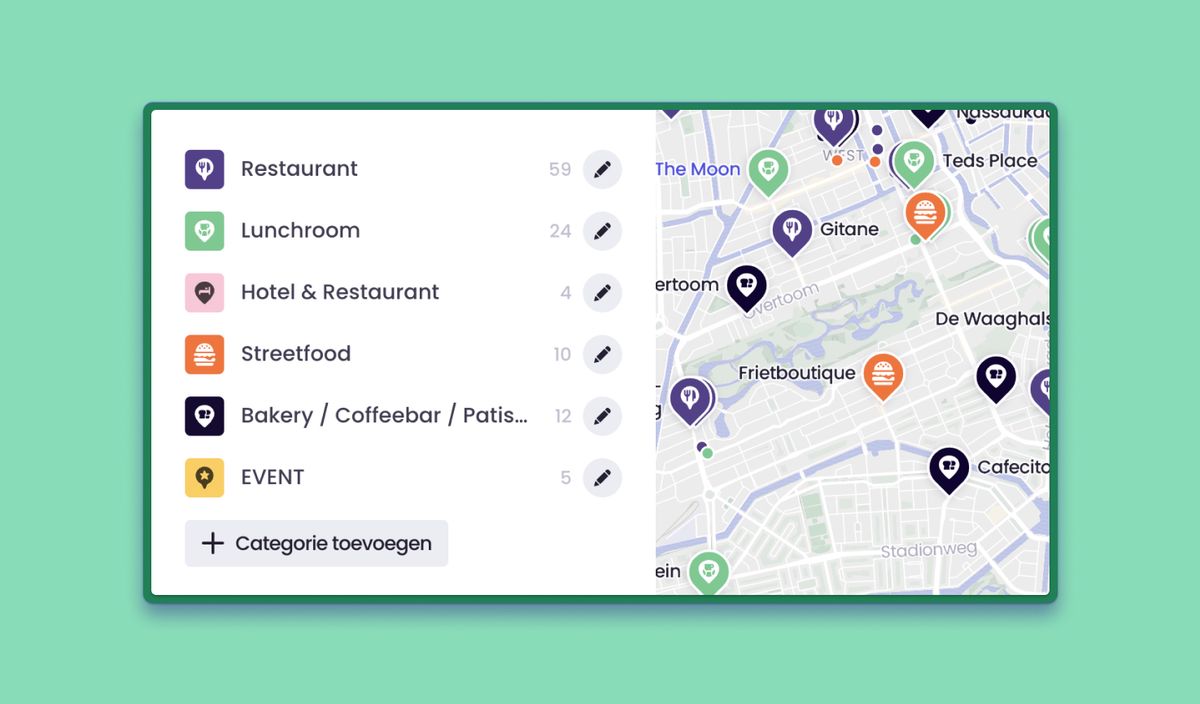 Categories in the studio
Step 4: Bring your map to life with locations
Now the basics are in place, here comes the fun part: adding places! This is where your knowledge and content bring the map to life and create the digital experience.
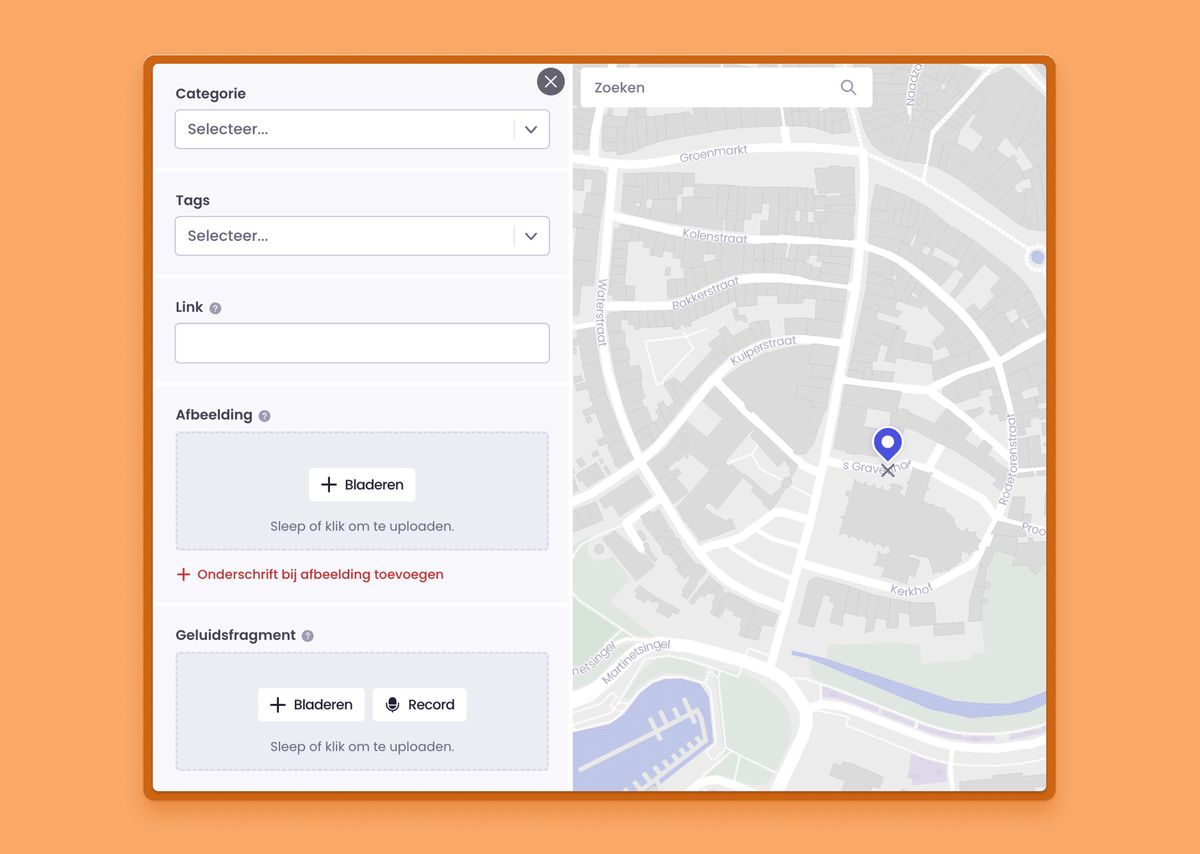
Click on the pin icon in the black bar on the right side of the screen and place the pin in the right location. You can also search directly by address or place name. Make each location as rich as possible:
- Add a beautiful photo.
- Write an inspiring description.
- Add a link to the location’s website.
- Make it extra lively with video or an audio clip for a podwalk.
- Link the place to the correct category to give the pin the right color and icon.
💡 Working with a data source? If your map is connected to an external data source (for example, a tourism database), you can import locations directly. This saves a lot of time and ensures your information is always up-to-date. Read more about data integrations
Step 5: Draw your routes
Is your map focused on a specific route, like a bike tour, city walk, or podwalk? Then the route feature is indispensable.
Click on the route icon in black bar on the right side of the screen. You now have two options:
- Upload a GPX file: If you already have an existing route file, you can import it directly.
- Draw it yourself: Click on the map to plot your route point by point. Enable snapping and the line automatically snaps to existing roads and paths. Super handy!
Once drawn, you can easily drag the route line to make small adjustments. Ideal for indicating temporary detours. Just like a location, you can add categories, photos, audio, and text to a route.
Step 6: Dive into the settings
Your map is ready, but the details make the difference. Under ‘Settings’ you give your map the finishing touch that suits your project.
Here you’ll find handy options. Think of setting your own brand color, engaging your community by letting them make suggestions, or improving the user experience by asking the map to directly request the visitor’s location.
Make sure to take a look here to discover which features can make your map even better.
Done! What now? Time to share!
Congratulations, you’re now a map maker with a strong map set up! Now you want your audience to actually use it. You can share your map in various ways:
- Share the direct URL via social media or in a newsletter.
- Embed the map directly on a page of your own website.
- Generate a QR code and place it on physical signs, flyers, or posters.
Once your map is live, check ‘Analytics’ from time to time. Here you’ll see exactly which spots and routes are popular. With those insights, you can continuously improve your map and your offerings.
Not yet on Wolf Maps?
Inspired after reading this article and see the possibilities for your organization? Schedule a free demo with us. We’d love to show you how Wolf Maps can bring your stories to life too.

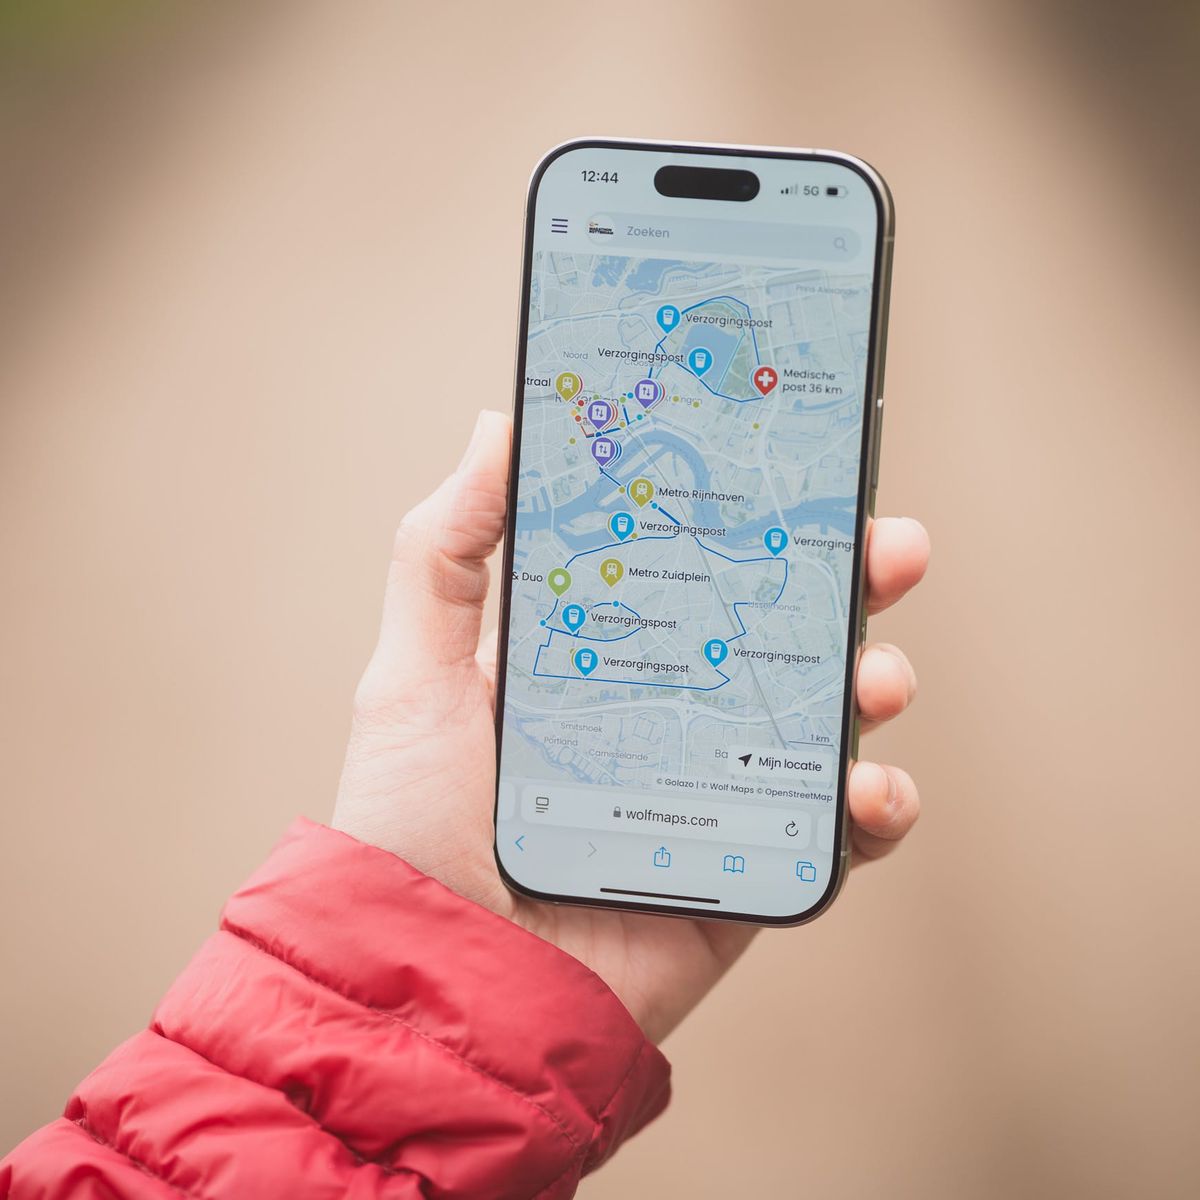
 Map overview in the studio
 Map profile in Wolf Maps
 Categories in the studio